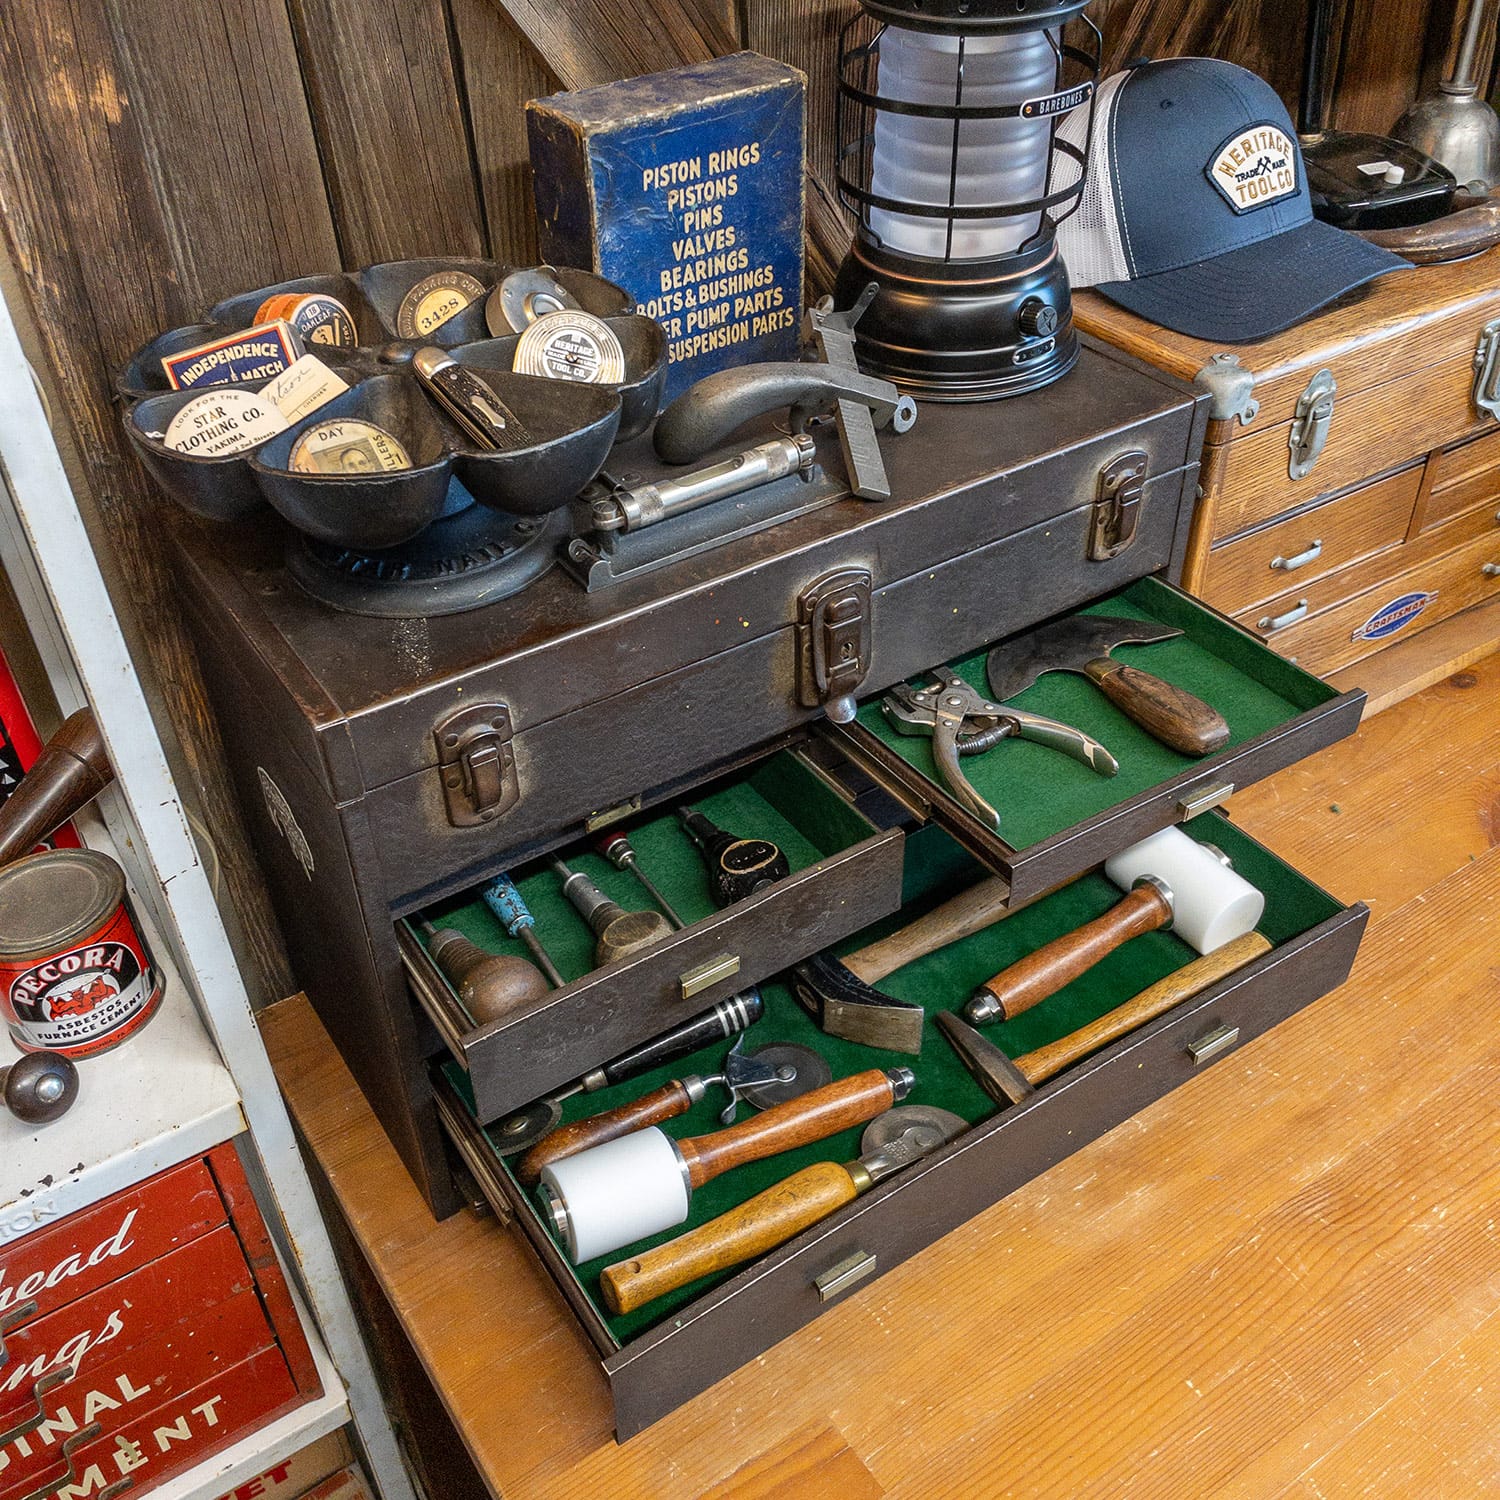
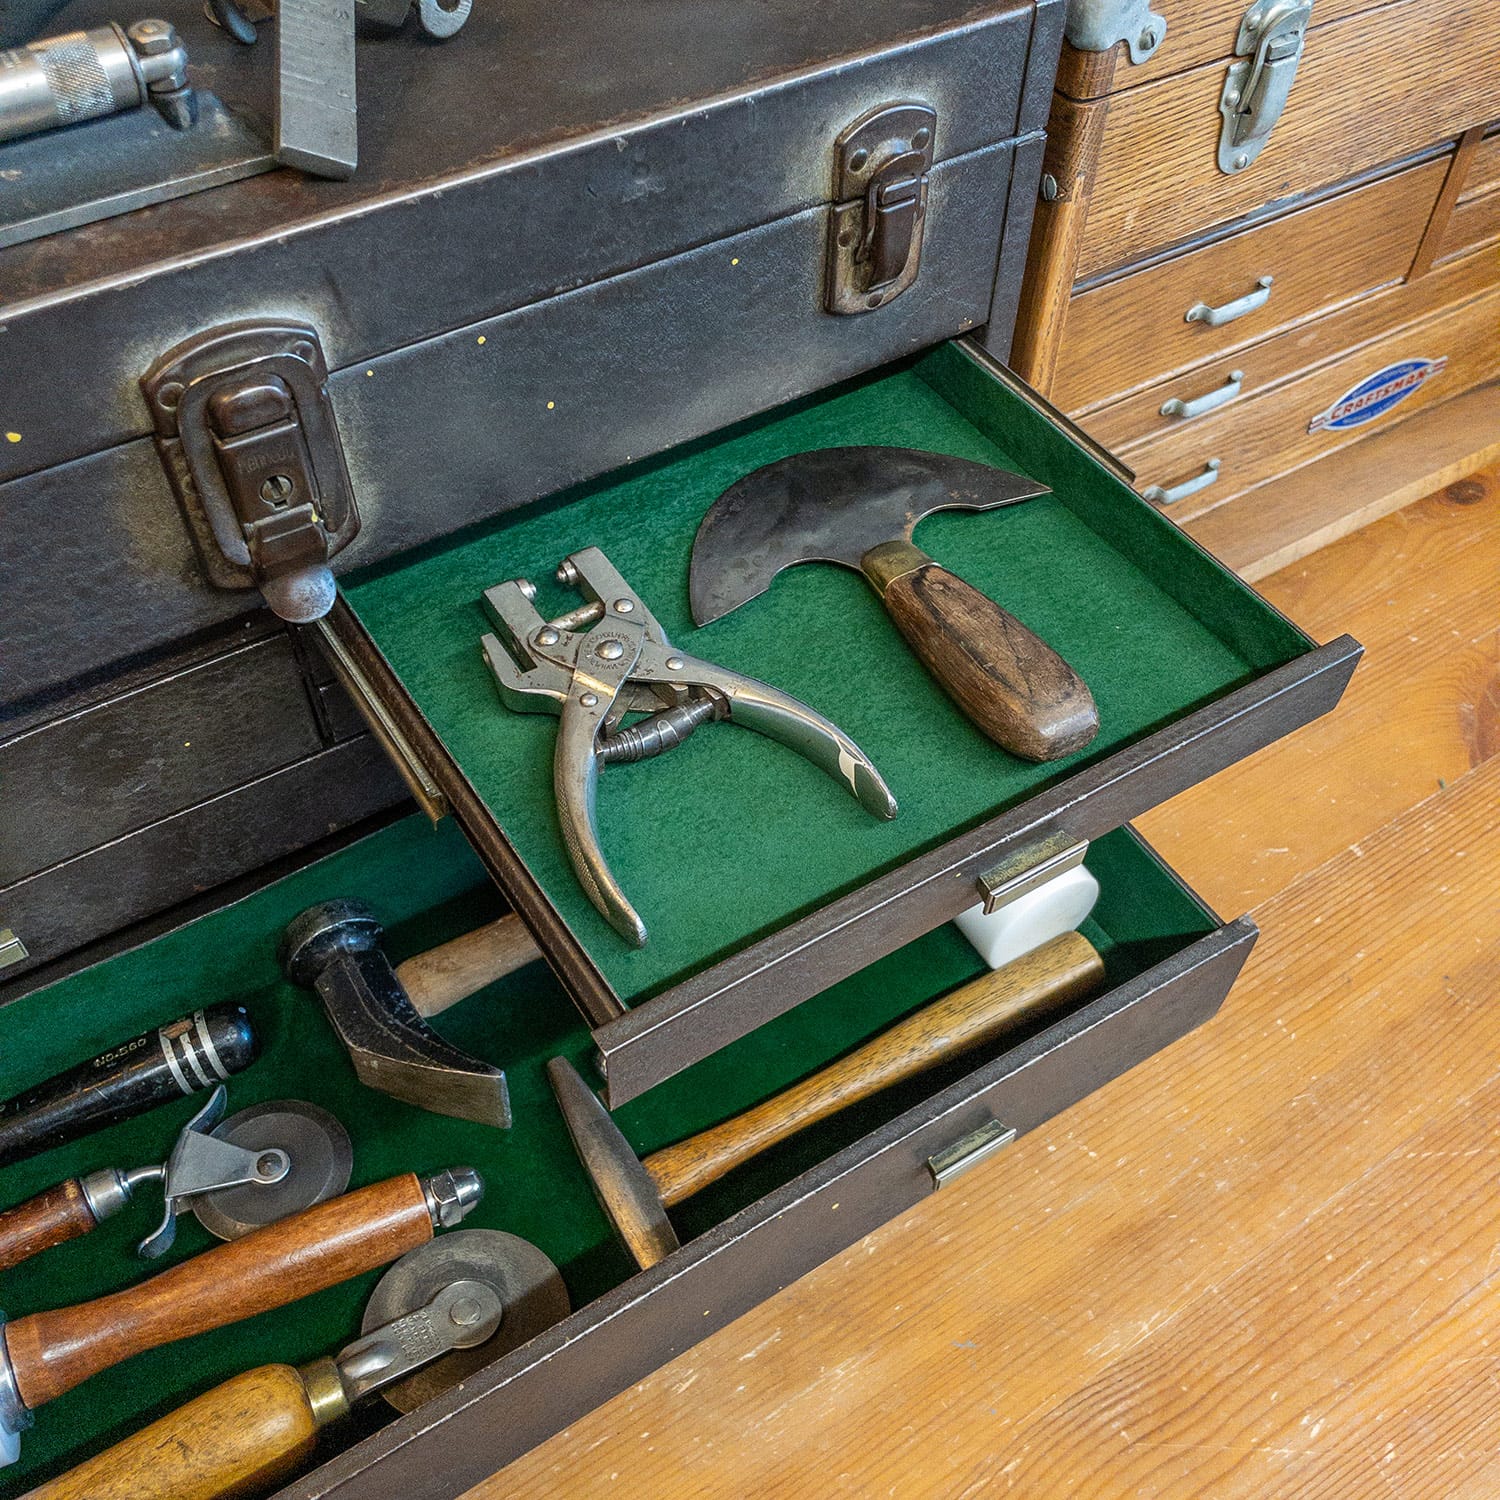
Kennedy toolboxes are renowned for their durability and craftsmanship. Over time, however, the felt lining inside these toolboxes can wear out, losing its ability to protect your tools. Replacing the felt in your tool chest can give it a new life and preserve its value. Here’s a step-by-step guide to help you tackle this task with confidence.
Why Replace the Felt?
The felt lining inside a toolbox serves multiple purposes:
- Protection: It cushions your tools, preventing scratches and dings.
- Organization: It helps keep small items from shifting around.
- Aesthetics: A fresh felt lining can restore the toolbox’s original look.
What You’ll Need
- Replacement Felt: You can find felt at craft stores or online. Opt for a high-quality material that’s durable and easy to work with. You can also order a pre-cut felt kit direct from Kennedy here.
- Scissors: For cutting the felt to size.
- Adhesive: If you purchase felt without an adhesive backing, choose a strong, fabric-friendly adhesive or spray adhesive to hold the felt in place.
- Measuring Tape or Ruler: To measure the dimensions of the toolbox compartments.
- Cleaner: To remove any old adhesive residue or debris.
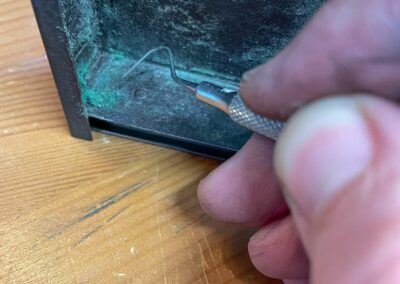
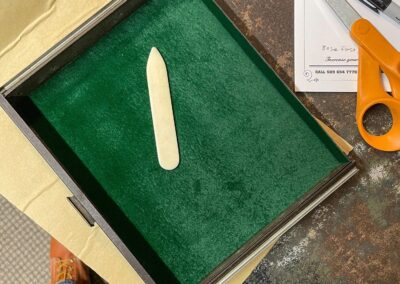
We also recommend a razor blade or dental tools to help remove any leftover felt still on the drawer surfaces, as well as a bone folder to ensure felt is fully pressed in place.
Felt Sizing
Drawer sizes from top to bottom
Top (inside lid): 20 x 8-3/8″
Small Drawers (4 total)
- Base: 8-5/8 x 7-3/8″ (x4)
- Sides: 7-3/8 x 7/8″ (x4)
- Back: 8-5/8 x 7/8″ (x4)
Medium Drawer (1 total)
- Base: 8-5/8 x 7-3/8″
- Sides: 7-3/8 x 1-15/16″
- Back: 8-5/8 x 1-15/16″
Large Slim Drawer (1 total)
- Base: 18-1/4 x 7-3/8″
- Sides: 7-3/8 x 1-3/8″ (x2)
- Back: 18-1/4 x 1-3/8″
Large Drawer (1 total)
- Base: 18-1/4 x 7-7/16″
- Sides: 7-7/16 x 2-3/16″ (x2)
- Back: 18-1/4 x 2-3/16″
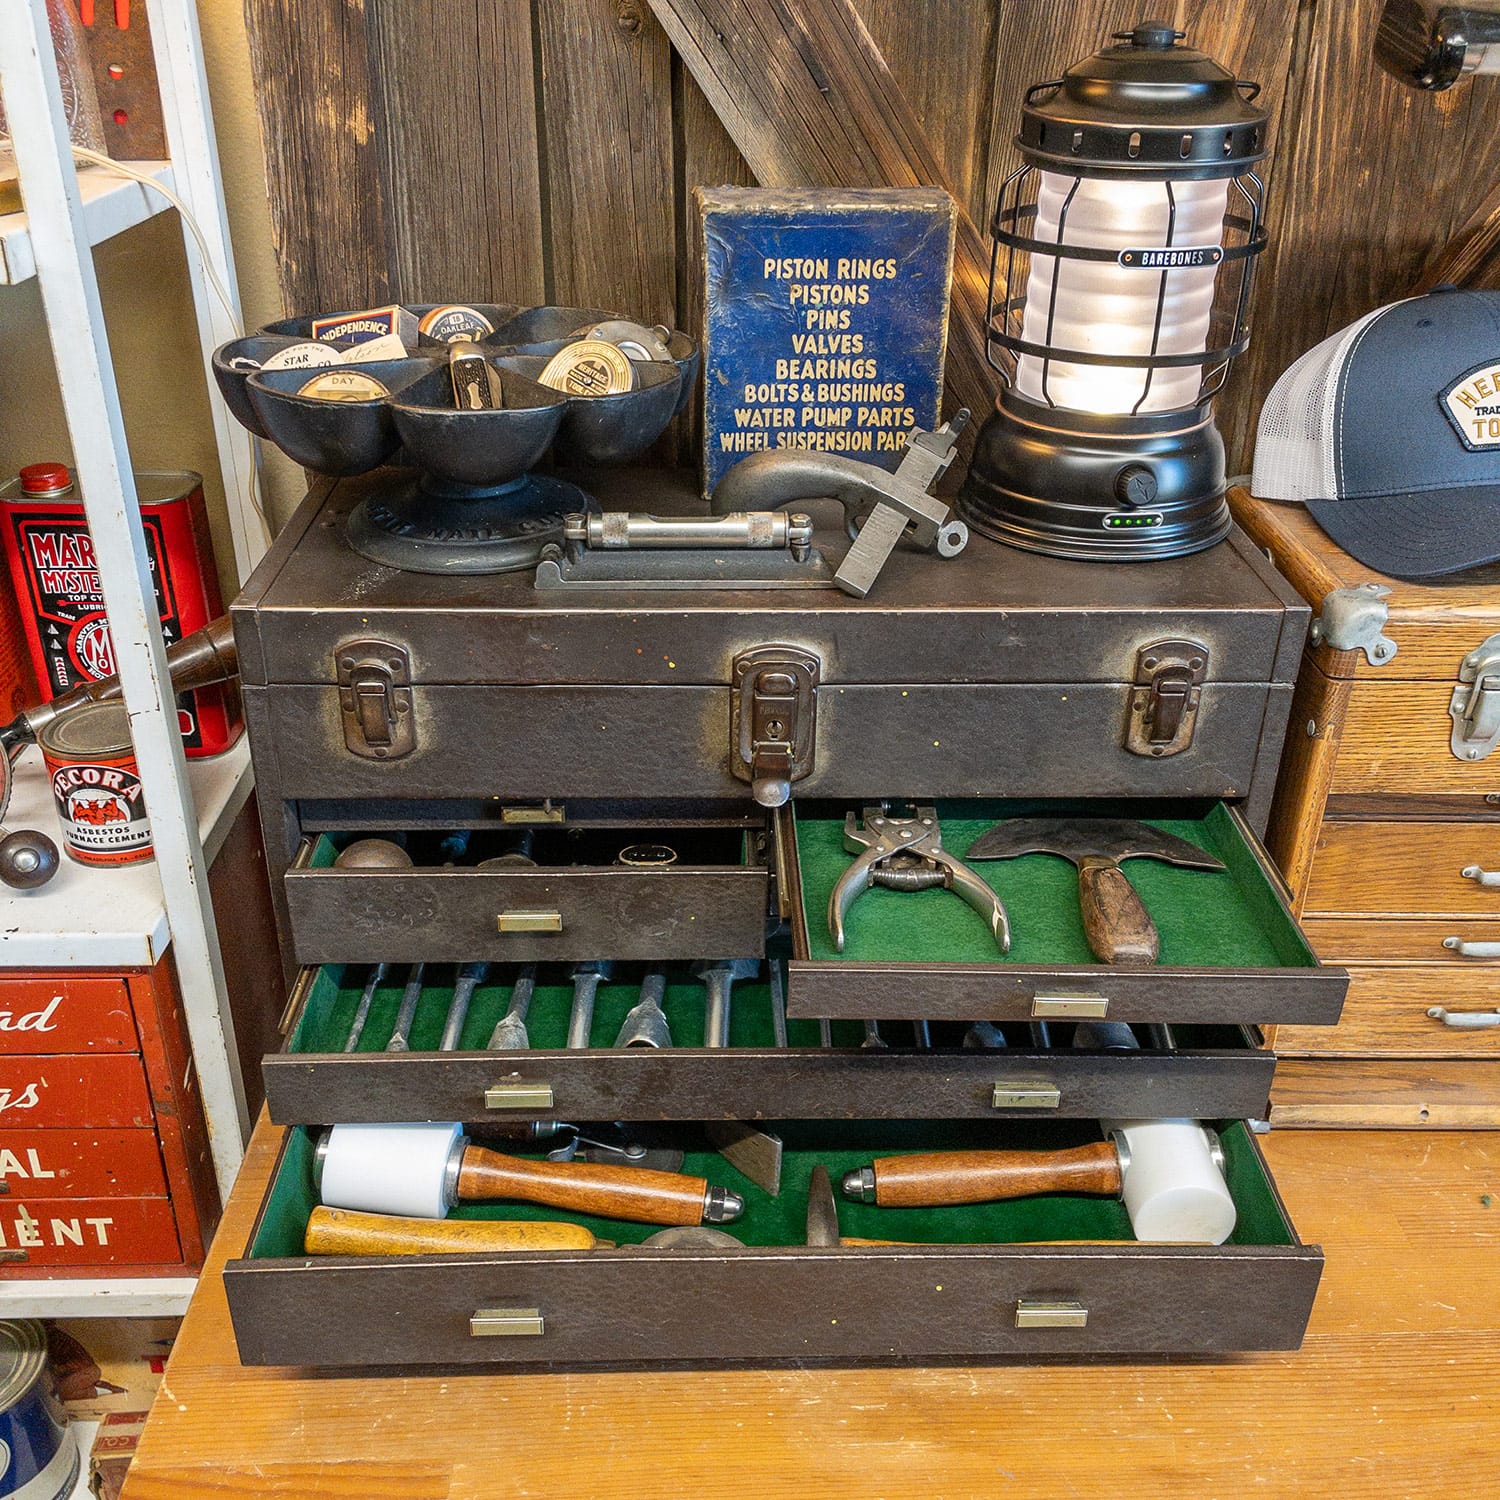
Measurements taken from 1930s era Kennedy No. 520 machinist chest.
Steps to Replace the Felt
- Empty the Toolbox: Start by removing all tools and items from the toolbox. This ensures you have a clean workspace and prevents any damage to your tools during the process.
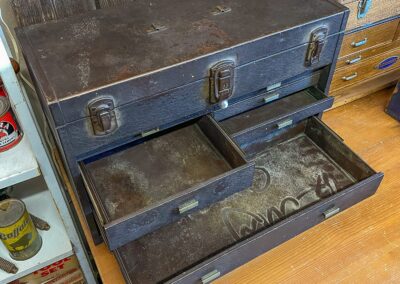
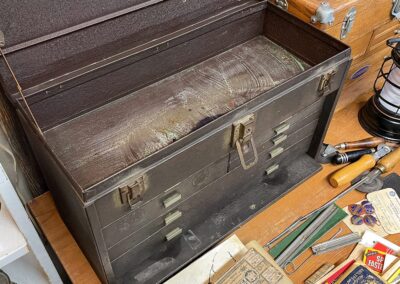
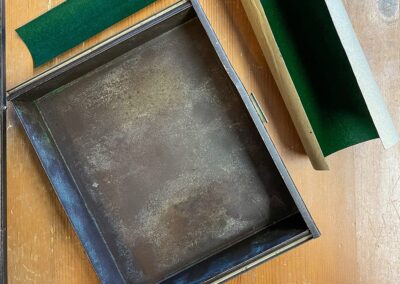
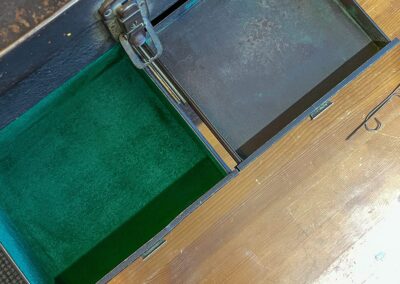
- Remove the Old Felt: Carefully remove the existing felt from each drawer. We found it much eaiser to remove all of the drawers first. Depending on how the felt was adhered you may be able to simply pull it free. If not, we suggest a razor blade and small sharp tools like dental tools to remove the felt residue and adhesive from the surface of each drawer.
- Clean the Interior: Thoroughly clean the inside of the toolbox to remove any old adhesive, dust, or debris. Use a mild cleaner and a soft cloth to avoid damaging the surface.
- Measure and Cut the New Felt:
- Measure the dimensions of each compartment of the toolbox, or use the dimensions provided above if you have the same Kennedy No. 520 pictured in this article.
- Cut the felt to match these measurements. It’s better to cut slightly larger pieces that you can trim down later for a precise fit.
- Apply the Adhesive:
- If your felt doesn’t come with an adhesive backing, apply a thin, even layer of adhesive to the interior surfaces where the felt will go. If you’re using spray adhesive, make sure to follow the manufacturer’s instructions for application and drying times.
- Carefully position the felt pieces on the adhesive-covered areas. Smooth out any bubbles or wrinkles as you go. For a neater finish, use a flat tool to press the felt into place. We prefer a bone folder with a pointed tip for easy access to corners.
- Trim Excess Felt: Once the adhesive has dried, use scissors or a utility knife to trim any excess felt for a perfect fit. Make sure the edges are neatly aligned and there are no overhangs.
- Allow to Set: Let the adhesive cure fully as per the manufacturer’s recommendations before using the toolbox. This ensures the felt is securely attached and ready for use.
- Reorganize Your Tools: Once the felt is set, place your tools back into the toolbox.
Tips for a Professional Finish
- Choose the Right Felt: Opt for a dense, high-quality felt that can withstand the wear and tear of regular use.
- Precision Cutting: For a flawless appearance, measure and cut carefully. Use a straightedge for more precise cuts.
- Test the Adhesive: Before applying it to the entire surface, test the adhesive on a small area to ensure it doesn’t damage the toolbox.
Replacing the felt in a vintage Kennedy toolchest not only revitalizes its protective features but also help maintain its classic charm. With these steps, you can ensure that your toolbox remains a functional and aesthetically pleasing part of your toolkit for years to come.
